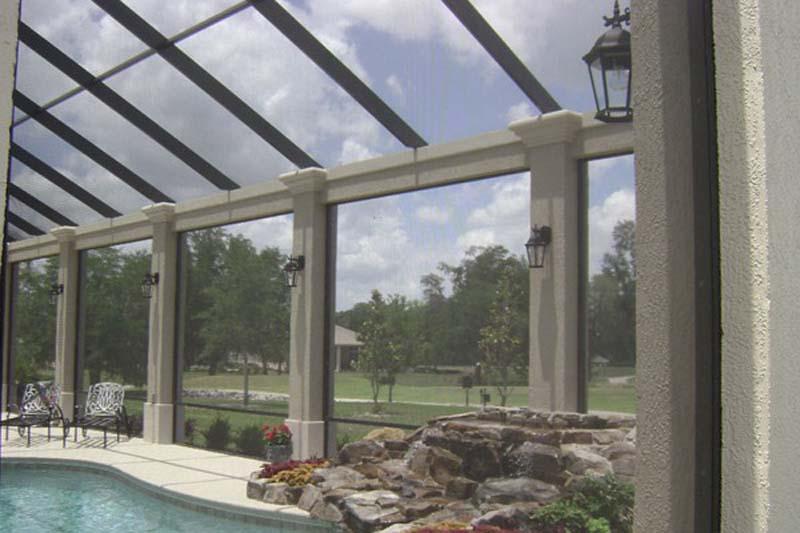
Garden Screen Repair
Of course, I'd be happy to provide you with information on patio grill repairs. Umbrellas can provide a great way to enjoy the outdoors without worrying about insects and other pests. However, over time, the t&d screen can become damaged or cracked, which reduces its effectiveness and makes its appearance less attractive. Privacy screen repair is a simple process that can help you restore your privacy screen to its original condition.
Types of Patio Screen Damage:
Before starting to repair a privacy t&d screen, it is important to understand the type of damage that can occur. The most common type of damage is a tear or hole in the screen material. This may be due to damage from normal wear and tear of the animal. In addition to puncturing and tearing, the screen can come off the frame, rendering it useless. Finally, screens can get dirty and smudged over time, which detracts from their aesthetics.
Tools and materials needed:
To fix a privacy td pool service, you'll need some basic tools and materials. First, you'll need a roll of canvas material that matches the size and color of your existing canvas. You'll also need a screen tab, which is a thin rubber thread that holds the screen in place in the frame. You'll also need a grooved roller, a tool that will help you install the grooves. Finally, you may need scissors or a utility knife to trim the screen material.
Steps to Repair a Patio Screen:
- Remove the damaged privacy td pool service from the frame - To begin your patio screen repair, you will need to remove the damaged privacy screen from the frame. To do this, use a screwdriver to remove any screws or clips holding the screen in place. Once the screen is loose, gently pull it out of the frame.
- Measure the canvas material: Remove the old canvas and measure the length and width of the frame to determine the size of the new canvas material you need. Be sure to add a few inches on each side to allow for overlap.
- Cut the new canvas material: After measuring the frame, use scissors or a utility knife to cut the new canvas material. Be sure to cut material slightly larger than the frame to allow for overlap.
- Assemble the new stencil stock: Place the freshly cut stencil stock over the frame and use a notched roller to press the grooves into the grooves on the edge of the frame. Be sure to squeeze the patio screen repair Miami as you walk so it doesn't wrinkle or sag.
- Cut off excess material: After installing the screen, use scissors or a utility knife to cut away any excess material around the edges of the frame. Be sure to leave a small overlap to ensure a snug fit.
- Reinstall the screen: Finally, reattach the screen to the frame with screws or clips. Be sure to tighten all parts securely to prevent future damage.
Patio Grill Repair Tips:
- When measuring patio screen repair Miami material, be sure to measure the frame at its widest point to ensure proper fit.
- Always use sharp scissors or a utility knife when cutting new screen material to avoid fraying the edges.
- If you have trouble sliding the slots into the slots, try spraying the patio screen repair material with a little soapy water to lubricate it.
- Be sure to work slowly and carefully to avoid damaging the new screen material.
- If you are unsure about any part of the repair process, it is best to consult a professional.
Diploma:
Privacy patio screen repair repair is a simple process that can help you restore your privacy screen to its original condition. Whether you have torn screen material or just need to replace a screen that has been displaced, the following steps can help you get the job done.