Raccoon
The raccoon is a medium-sized vertebrate local to North America. Raccoons are prevalently delegated omnivorous, however they can eat pretty much anything they can get their hands on! Learn this blog or visit our drawing blog or drawing ideas like bull drawing step by step.
They are likewise for the most part nighttime, so they're much of the time meandering around while different creatures rest. However raccoons began from the wilds, they have found their direction into huge, metropolitan urban areas and they're adoring the city life!
Roughly multiple times more raccoons live in the city of Toronto contrasted with the encompassing open country and prairies. The exceptional appearance and outrageous cunning of raccoons has made them extremely intriguing to draw.
Consequently, we have made a bit by bit process on the most proficient method to draw a raccoon, summarized in 9 simple guidelines and basic representations.
Stage 1 - raccoon drawing
Start by drawing a sideways oval shape on the upper left half of your paper. This structures the state of the raccoon's head. Subsequently, draw a calculated figure on the two sides of the lower part of the head. This makes the unmistakable fuzzy cheeks of a raccoon!
While drawing a diagram or a harsh sketch, it means a lot to draw with a light hold and delicate strokes. This guarantees that you can without much of a stretch delete a few pieces of the layout you may never again require later on.
Stage 2 - Make a Layout of the Raccoon's Head
Eradicate the base piece of the oval shape that covers inside the figure. This refines the state of the raccoon's head. In the wake of completing this step, the blueprint of the raccoon's head ought to now be cleaned up. In this way, it ought to look more refined and apparent.
Stage 3 - A short time later, Draw the Nose of the Raccoon
Define a bended boundary on the lower center piece of the top of the raccoon. Then, at that point, draw a little sideways oval shape at the lower part of the bend. This structures the nose and the nose of the raccoon.
Ensure that the nose is marginally pointed towards the end — it's one of the raccoon's most particular highlights! Remember to eliminate the piece of the diagram that covers with the nose!
Stage 4 - Next, Draw the Raccoon's Sets of Ears
Define two modified Angular boundaries on the two sides at the highest point of the raccoon's head. This structures the sets of ears of the raccoon. Like the past advances, make a point to eliminate the lines that cross-over inside any piece of the raccoon's body. This helps keep your drawing flawless and clean, and in particular, refined.
Stage 5 - Then, Layout the Body of the Raccoon
Subsequent to making the top of the raccoon, now is the ideal time to structure its body. Continue by drawing a round figure right under the raccoon's head. Make a point to draw a few pointed clusters of fur on the outer layer of the body to add surface, causing it to seem shaggy and reasonable!
Stage 6 - Presently, Draw the Cushy Tail of the Raccoon
Draw a lengthened, pointed figure associated with the base back of the raccoon. This structures the raccoon's tail. Raccoons commonly have thick, cushy tails, so try to remember that while drawing the tail!
Stage 7 - Draw Each of the Four Appendages of the Raccoon
Draw a bended stretched figure with paws on the right half of the raccoon's chest to shape its right front leg. Then, draw the noticeable paws of the left front leg on the contrary side.
A short time later, draw a more extensive bended figure with a foot to structure the right rear leg. Remember that the rear leg of the raccoon ought to be without a doubt thicker than its front legs.
Since the raccoon is looking towards the left side, its left leg isn't apparent, as found in that frame of mind above.
Stage 8 - Add Examples on the Raccoon's Ears and Tail
Raccoons have unmistakable examples on their tail, so that is precisely exact thing we'll be dealing with in this step. Go on by defining various equal boundaries across the whole tail. When drawn accurately, it ought to make a "stripes" design on the tail of the raccoon.
Presently, draw a triangle shape inside every ear of the raccoon. This makes the presence of inside or internal ears.
Stage 9 - Presently, Draw the Raccoon's Facial Elements
Draw two little circles with a more modest circle inside on the upper part of the raccoon's face. This structures the sets of eyes of the raccoon. A short time later, conceal the whole eyes while leaving out the little circles inside unshaded to make an emotional "shimmering eyes" impact.
Subsequent to drawing the raccoon's facial highlights, we'll continue on toward the unmistakable examples all over. Continue by defining two bended boundaries that associate in the center on the brow of the raccoon.
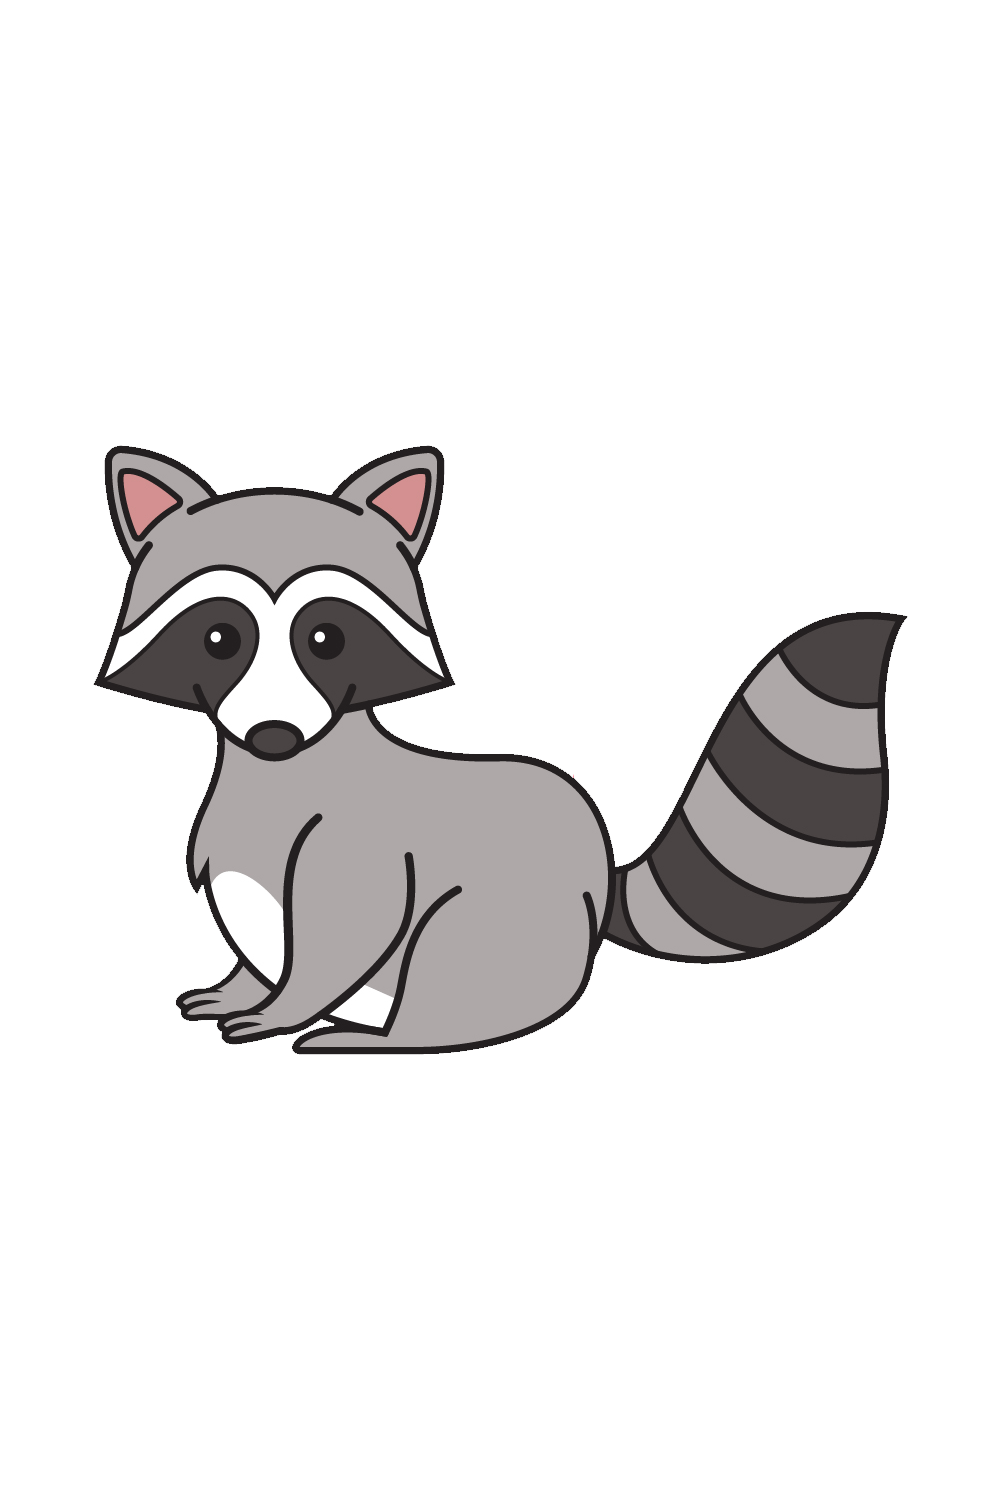
Then, at that point, draw two bended figures encompassing each eye. This is normally the piece of the raccoon with a more obscure fur tone. That's essentially it — you have effectively drawn a raccoon! Presently, it's at last time for the part we've all been hanging tight for, which is shading the raccoon!
Contingent upon its place of beginning, the fur of racoons differs from dark to blackish with earthy colored hints to silver. You can select to variety the raccoon utilizing its unique tones or utilize a one of a kind arrangement of varieties. One way or another, we're certain the tones will end up being lovely!
The shades of your attracting is altogether dependent upon you! All things considered, it's your show-stopper! Have a good time playing with colors!